Create a Resilience Probe
Before you begin
You can learn about the concept of resilience probes here and chaos experiments here. For this user guide, we will use a HTTP probe.
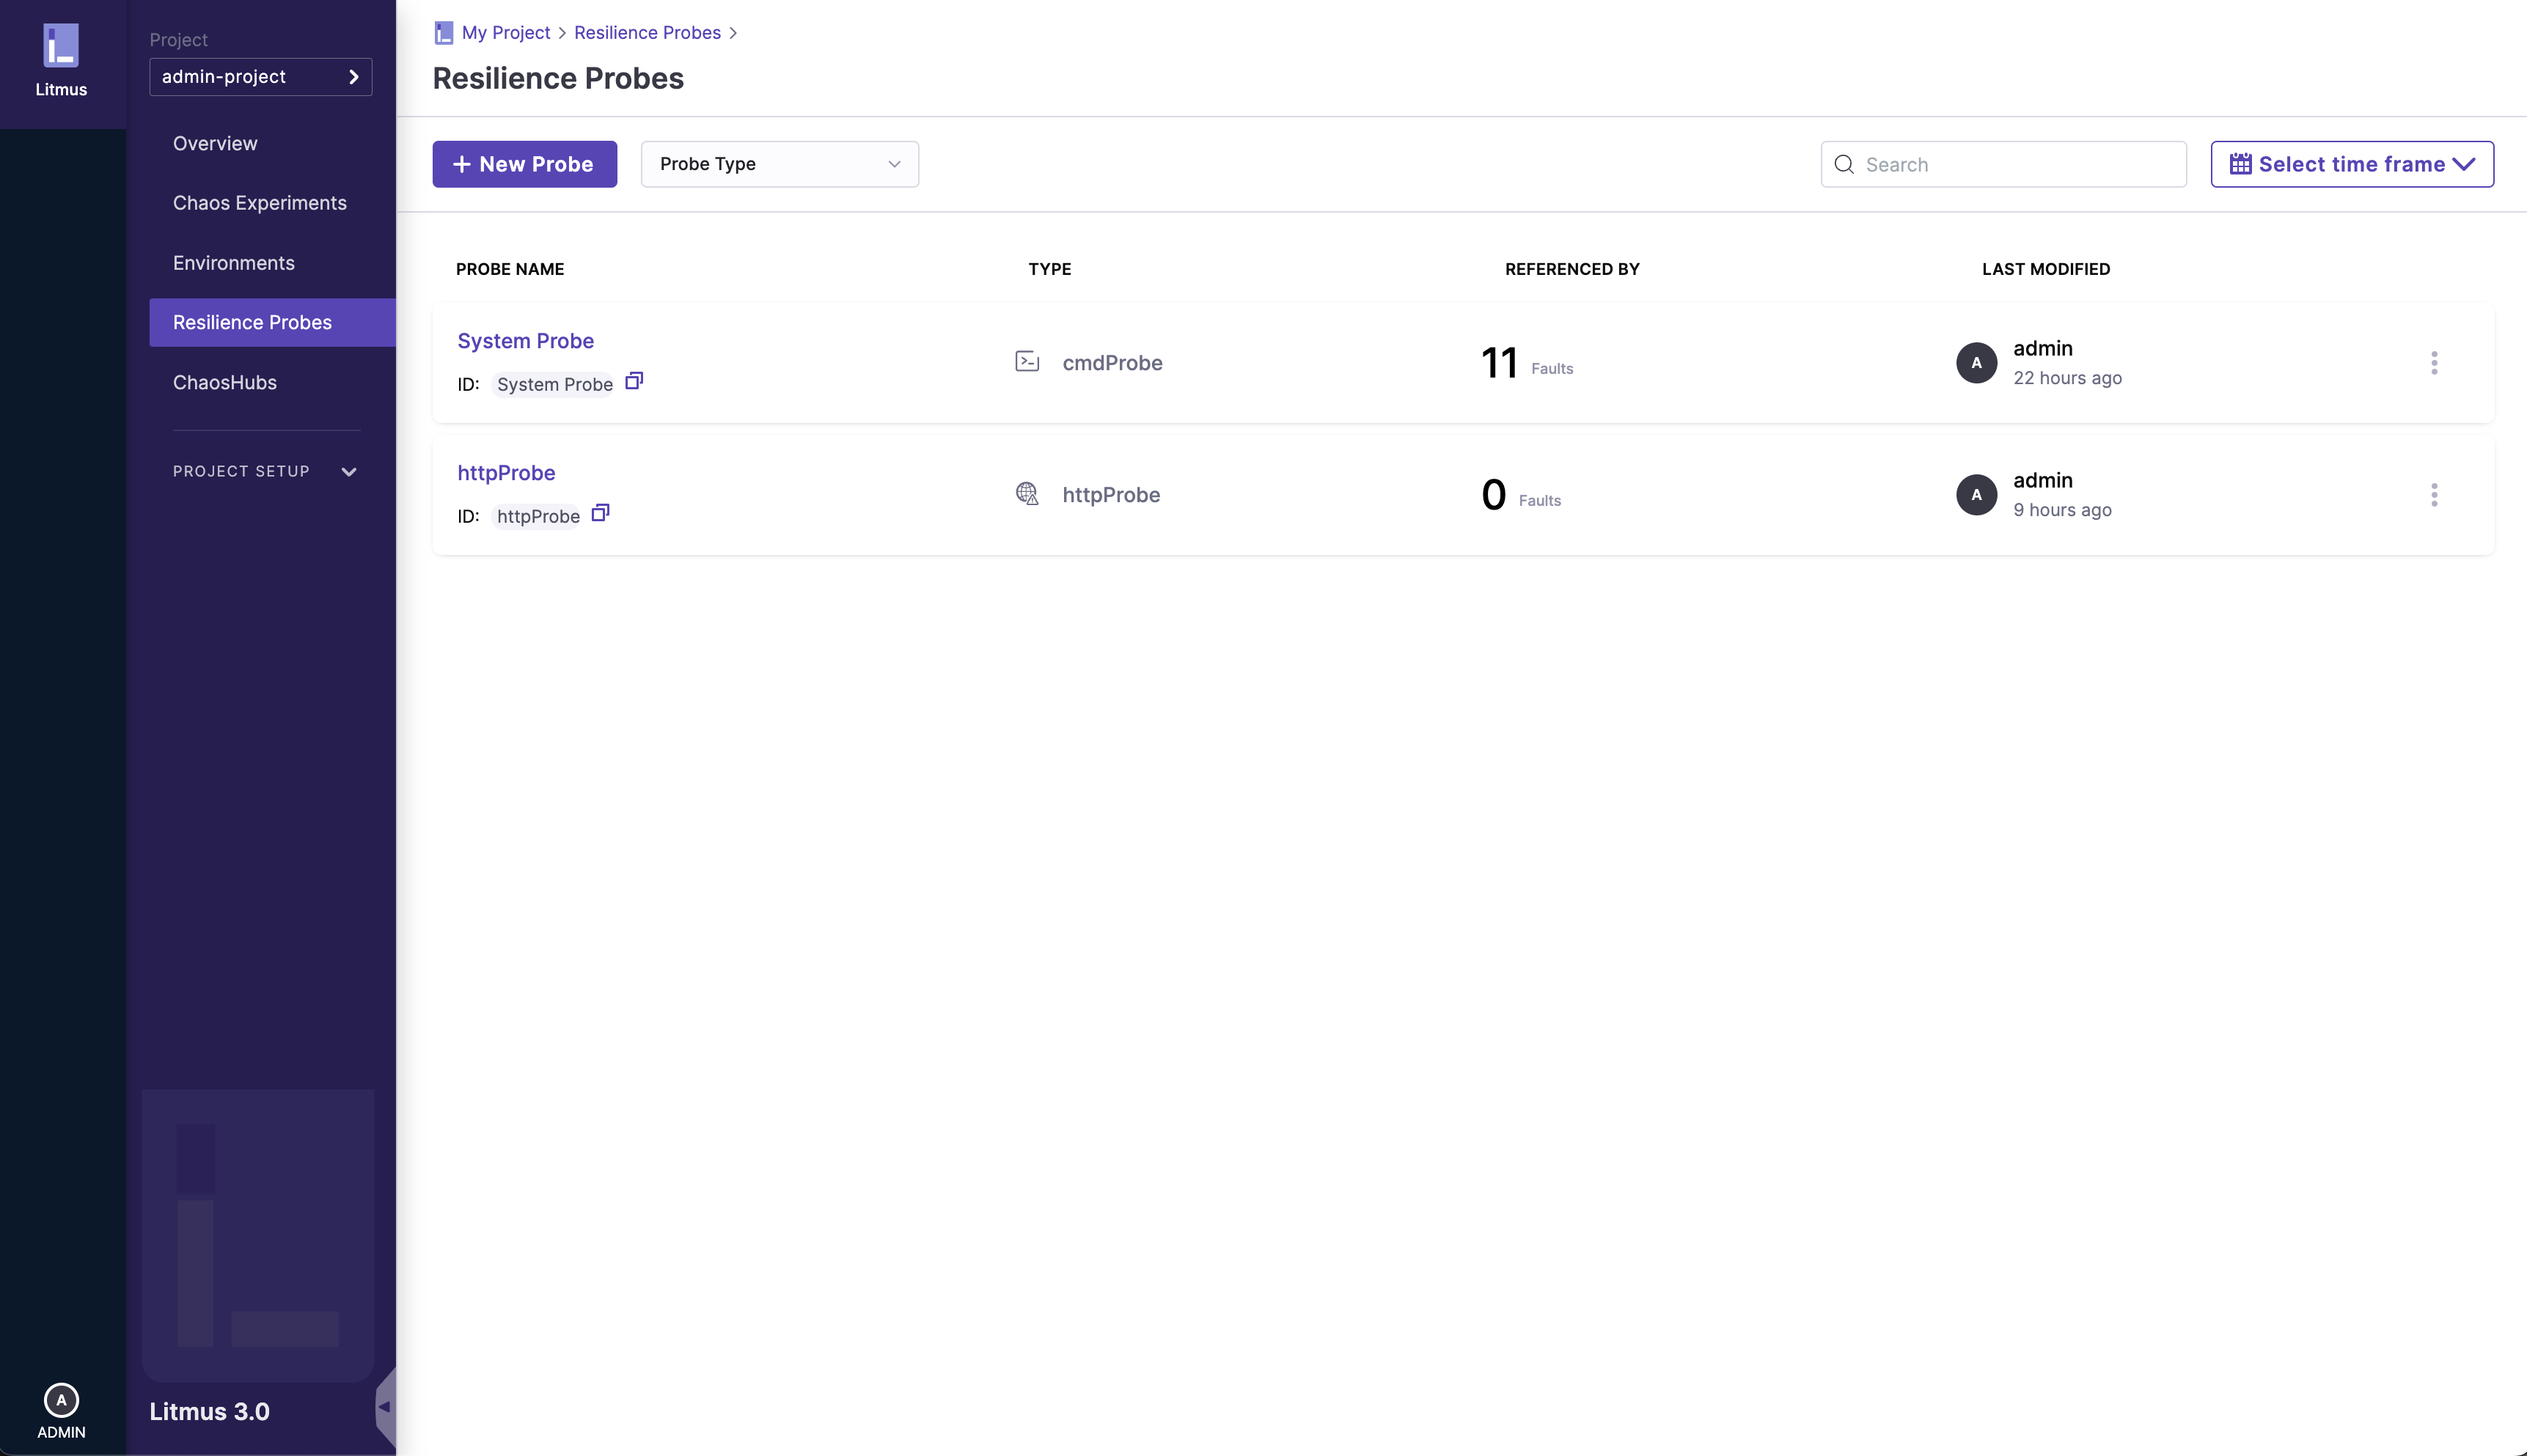
1. Go to the Resilience Probes section
Navigate to the /probes page (Resilience Probes on the left nav), and click on the New Probe button
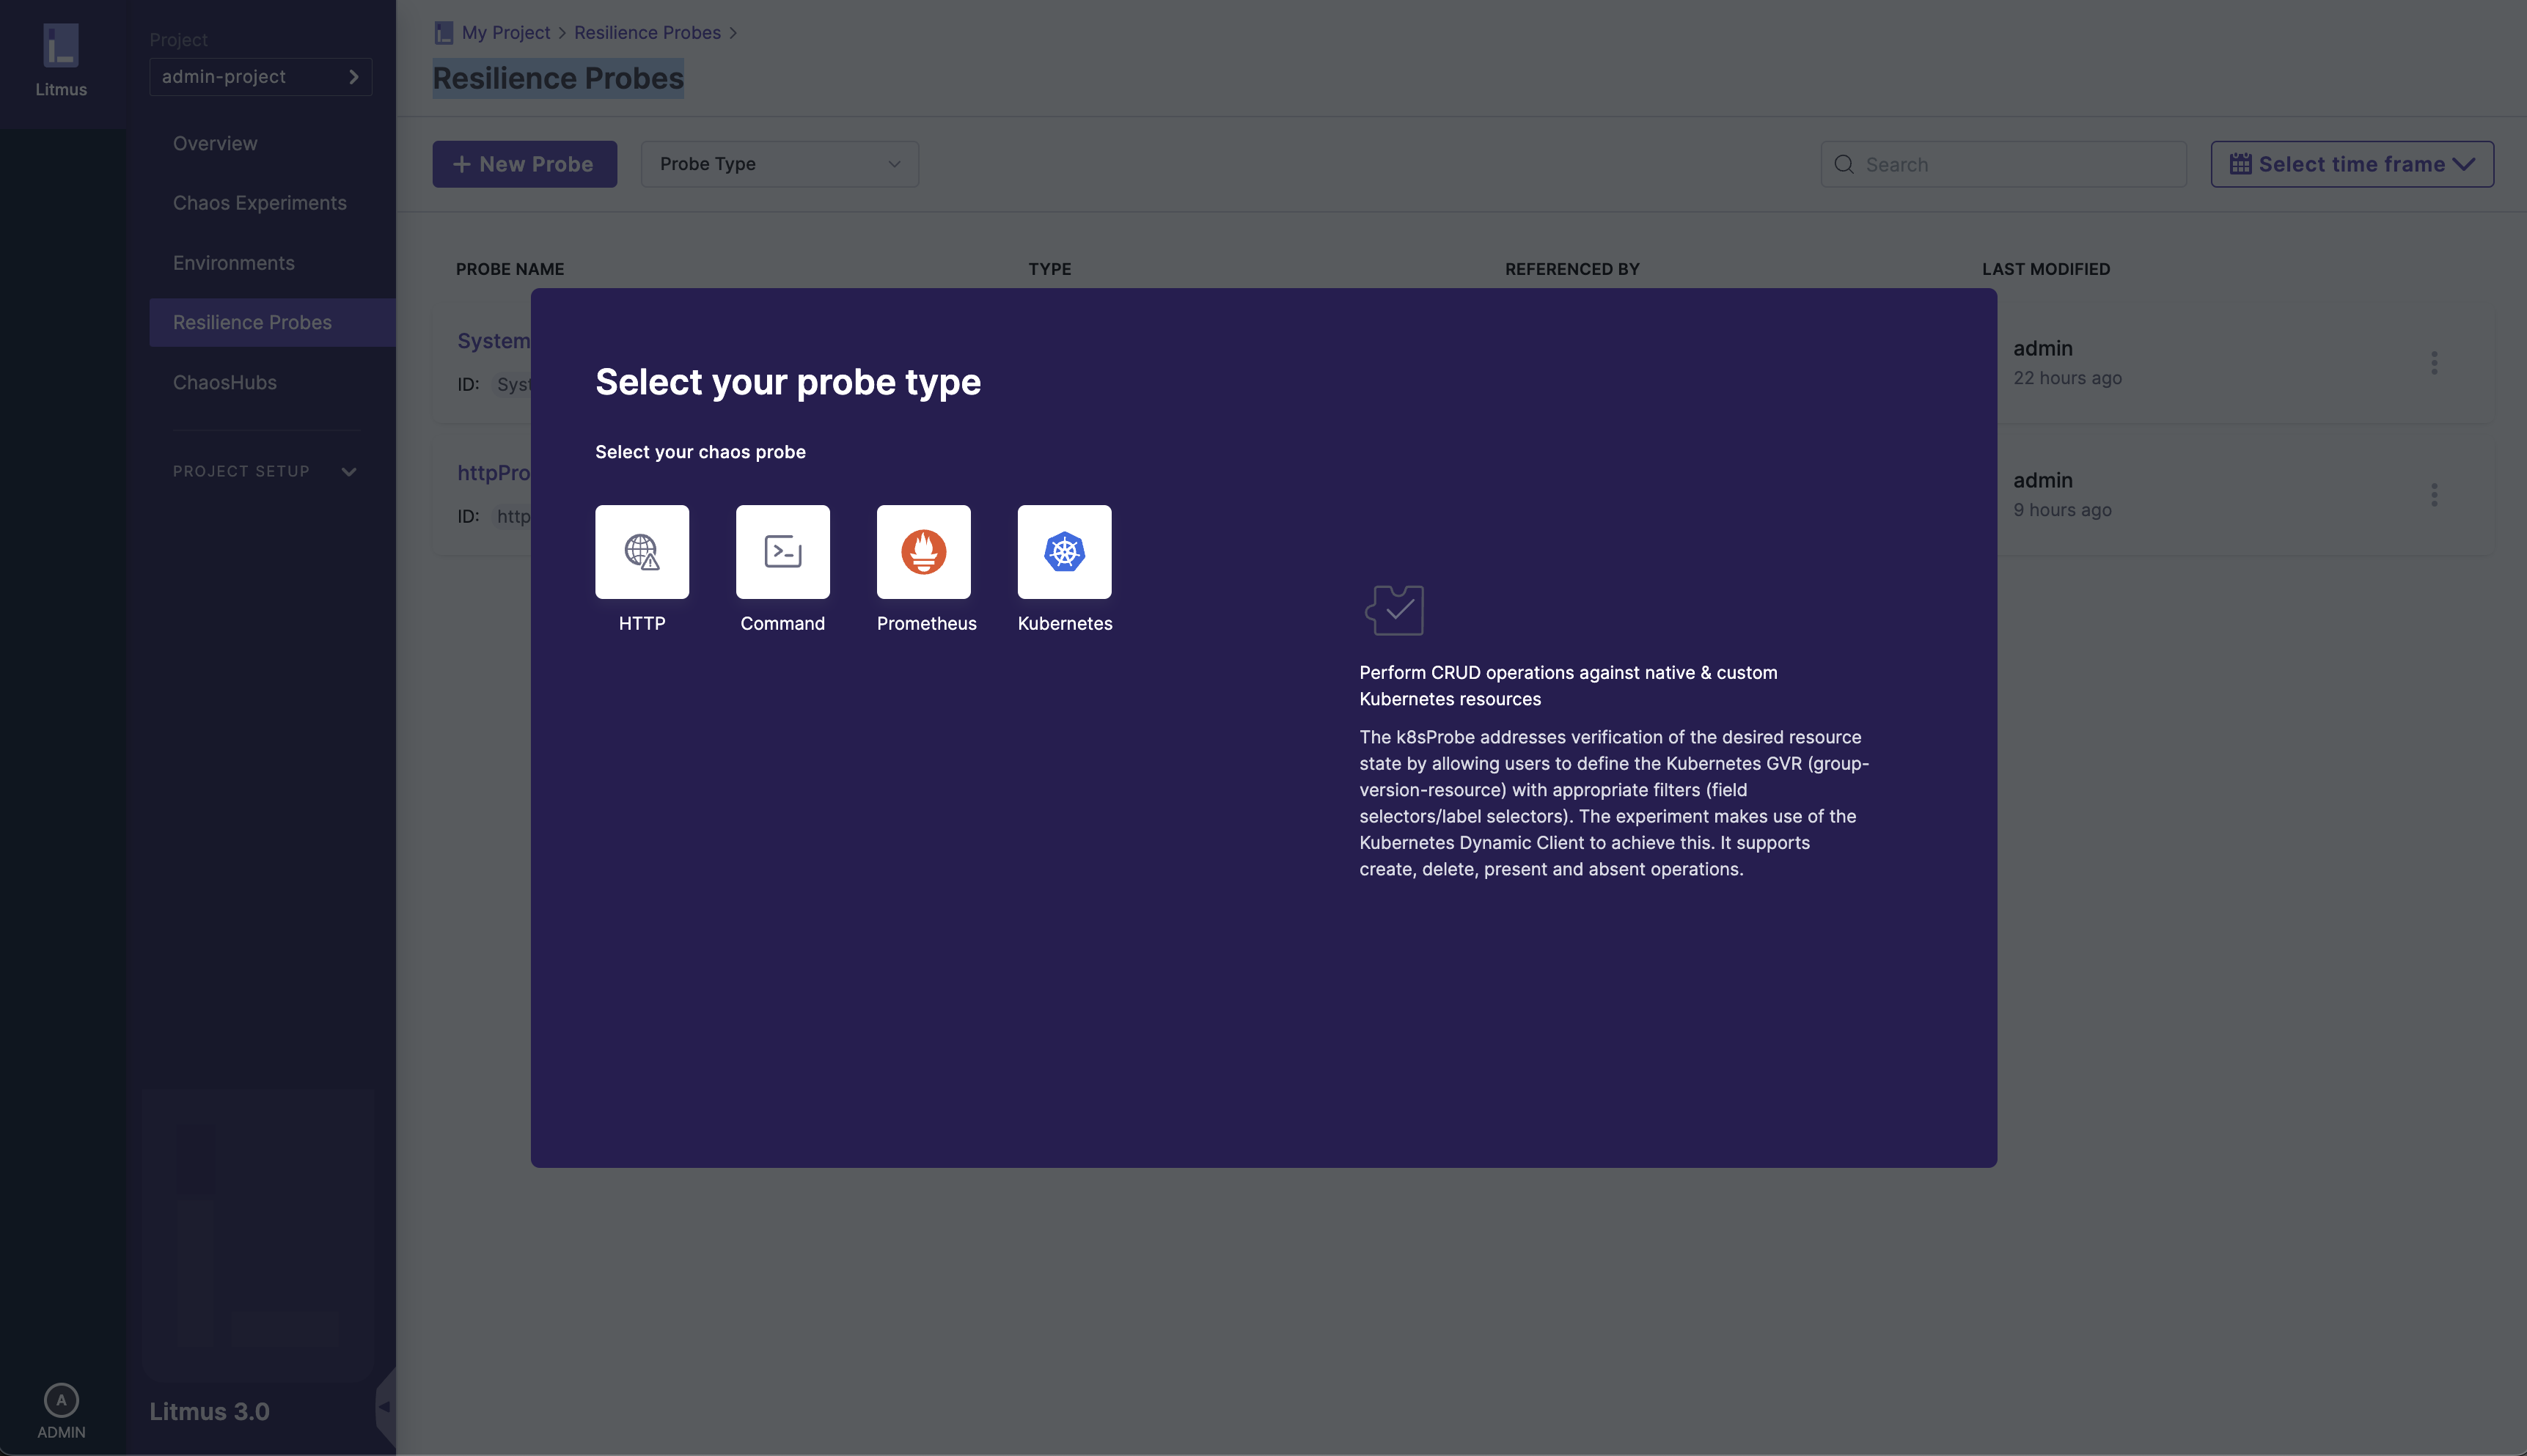
2. Select the type of probe
Select and click on the type of probe you would like to create, you can read about the available probe types here
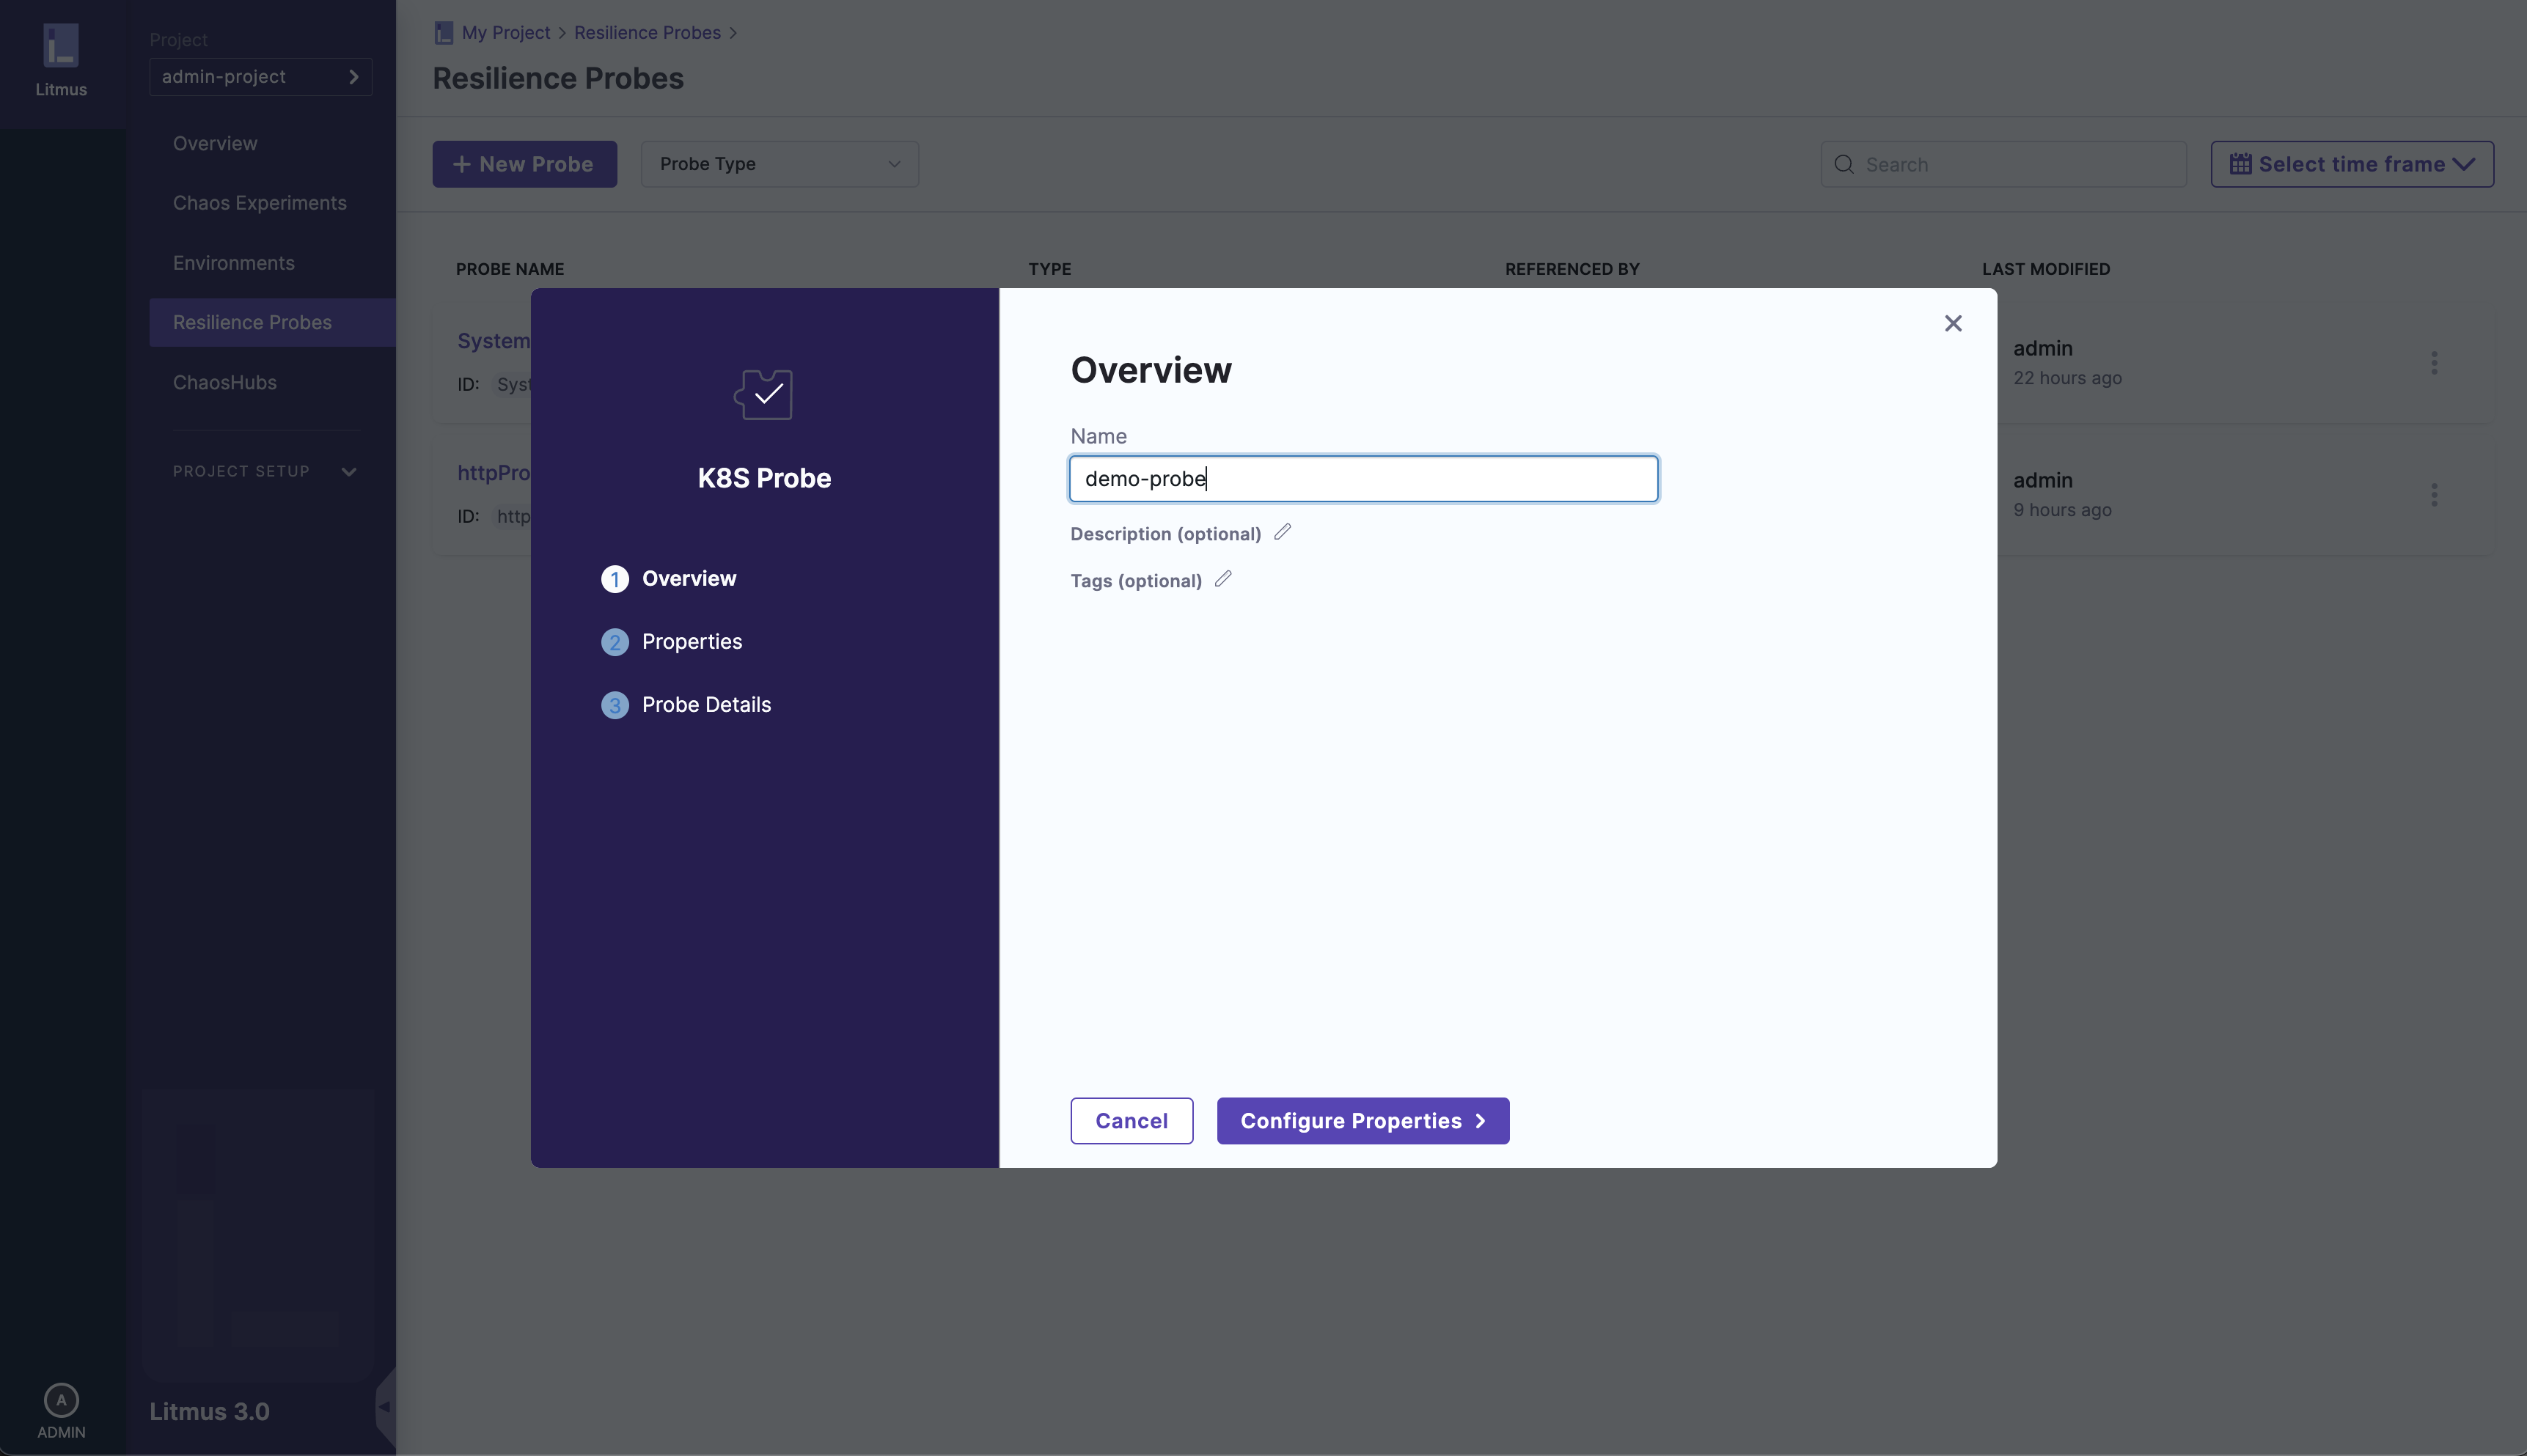
3. Enter the details of the probe to create
Enter the details of the probe such as name, description (optional), tags (optional)
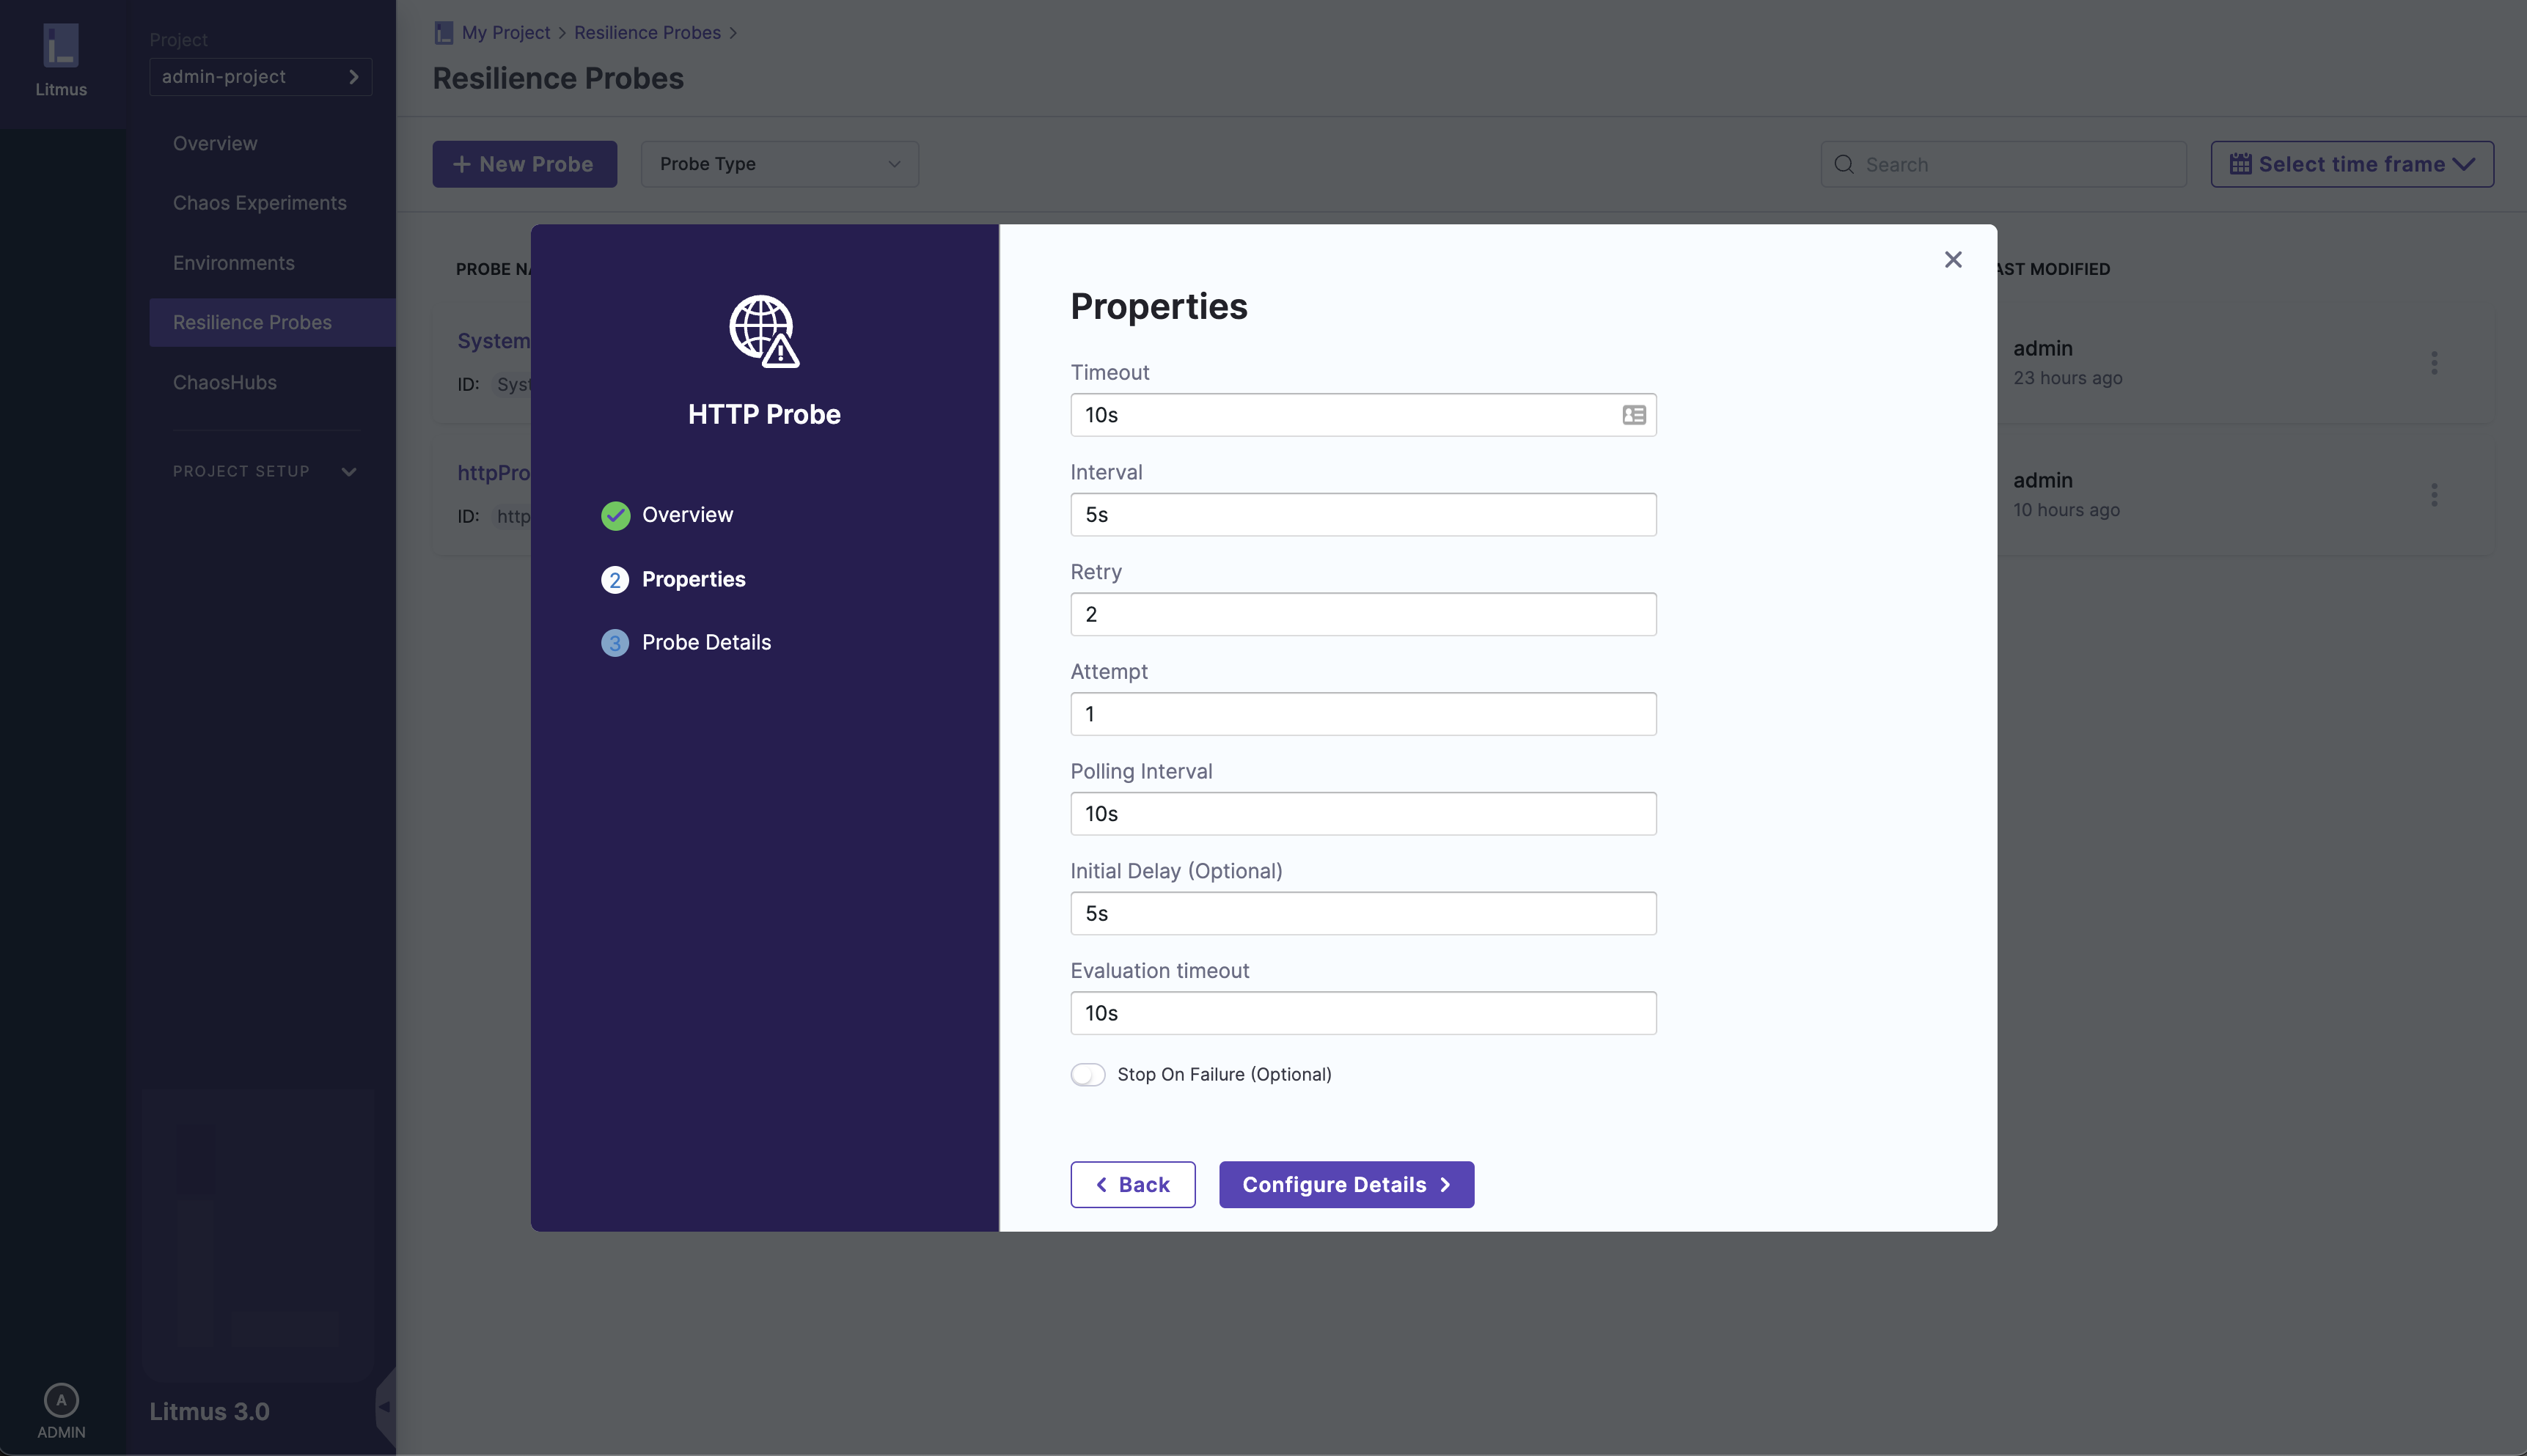
4. Configure the probe properties
Configure the properties for the probe you are creating, such as, Timeout, Interval, Retry, etc.
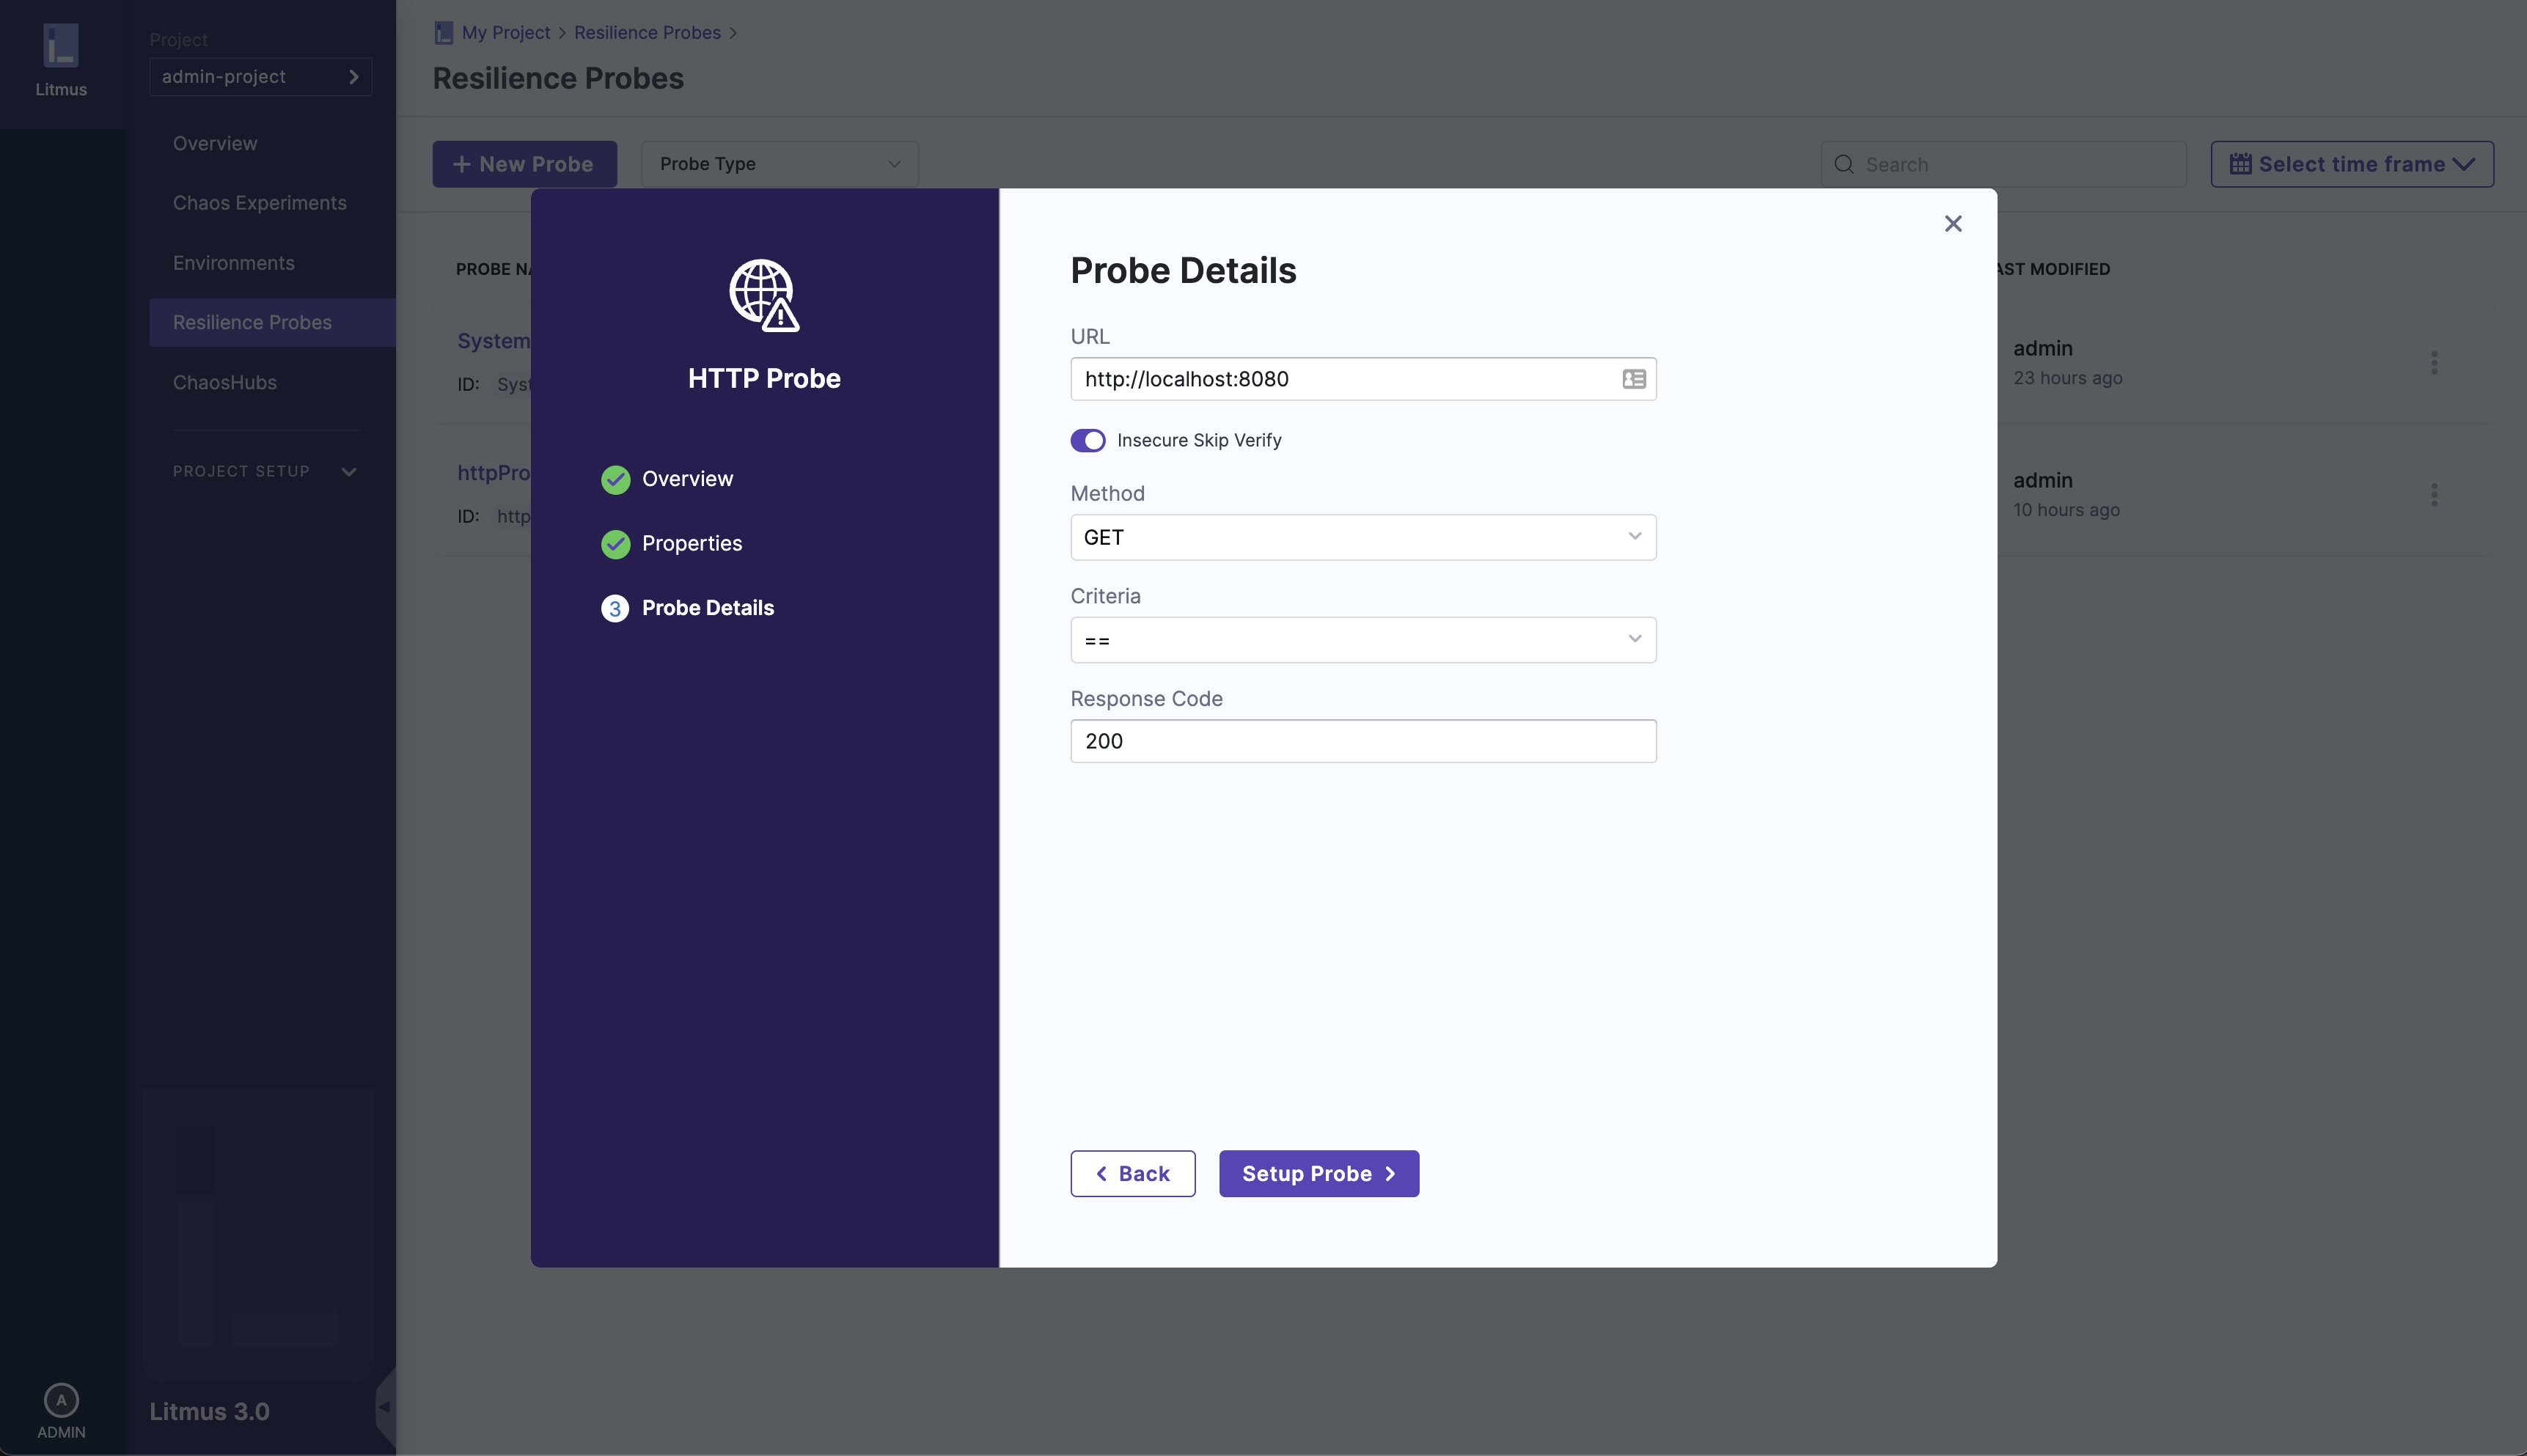
5. Configure the probe details
Configure the details for the probe you are creating, once completed, click the Setup Probe button
The new probe will appear in the list as shown:
